Unity UI Toolkit at Runtime
Published • Last Updated • 5 minutes

GitHub Repo: https://github.com/neogeek/Unity-UI-Toolkit-at-Runtime
Working with the old Unity UI framework could be a chore. Creating simple UIs can be trivial, but things could get out of hand once the interfaces become complex. Would the UI flow correctly if I added more items? Does it look OK if the device is in landscape or portrait? What about screens that were higher or lower resolution? These questions and more can present themselves repeatedly when building UIs in Unity.
With the new Unity UI Toolkit, are these questions a thing of the past? Not completely, but some certainly are!
In this post, I want to show you how easy it can be to set up a dynamic list of items populated from an API. But first, I want to start with data structures and mock layout.
Data Structure
For this example, I'm using data from a service called randomuser.me, which returns randomly generated users on request. I have removed the non-relevant properties from the example response for this demo.
{
  "results": [
    {
      "name": {
        "first": "Carlos",
        "last": "Richards"
      },
      "email": "[email protected]",
      "phone": "(211) 897-2006",
      "picture": {
        "large": "https://randomuser.me/api/portraits/men/86.jpg",
        "medium": "https://randomuser.me/api/portraits/med/men/86.jpg"
      }
    }
  ]
}
First, I've created structs to match the data structure from the API.
RandomUser.cs
public struct RandomUserApiResponse
{
    public RandomUser[] results;
}

public struct RandomUser
{
    public RandomUserName name;
    public string email;
    public string phone;
    public RandomUserPicture picture;
}

public struct RandomUserName
{
    public string first;
    public string last;
}

public struct RandomUserPicture
{
    public string large;
    public string medium;
}
Then I tested to make sure I could read from the randomuser.me API.
⚠️ Note: The following code snippet requires installing the
com.unity.nuget.newtonsoft-jsonpackage via the Unity Package Manager.
DynamicDataList.cs
using System.Net.Http;
using System.Threading.Tasks;
using UnityEngine;
using Newtonsoft.Json;

public class DynamicDataList : MonoBehaviour
{

    private async void Start()
    {
        var data = await FetchDataFromRemoteSource<RandomUserApiResponse>("https://randomuser.me/api/?results=100");

        Debug.Log(data.results.Length);
    }

    private async Task<T> FetchDataFromRemoteSource<T>(string url)
    {
        using var client = new HttpClient();

        var response = await client.GetStringAsync(url);

        var data = JsonConvert.DeserializeObject<T>(response);

        return data;
    }

}
Mock Layout
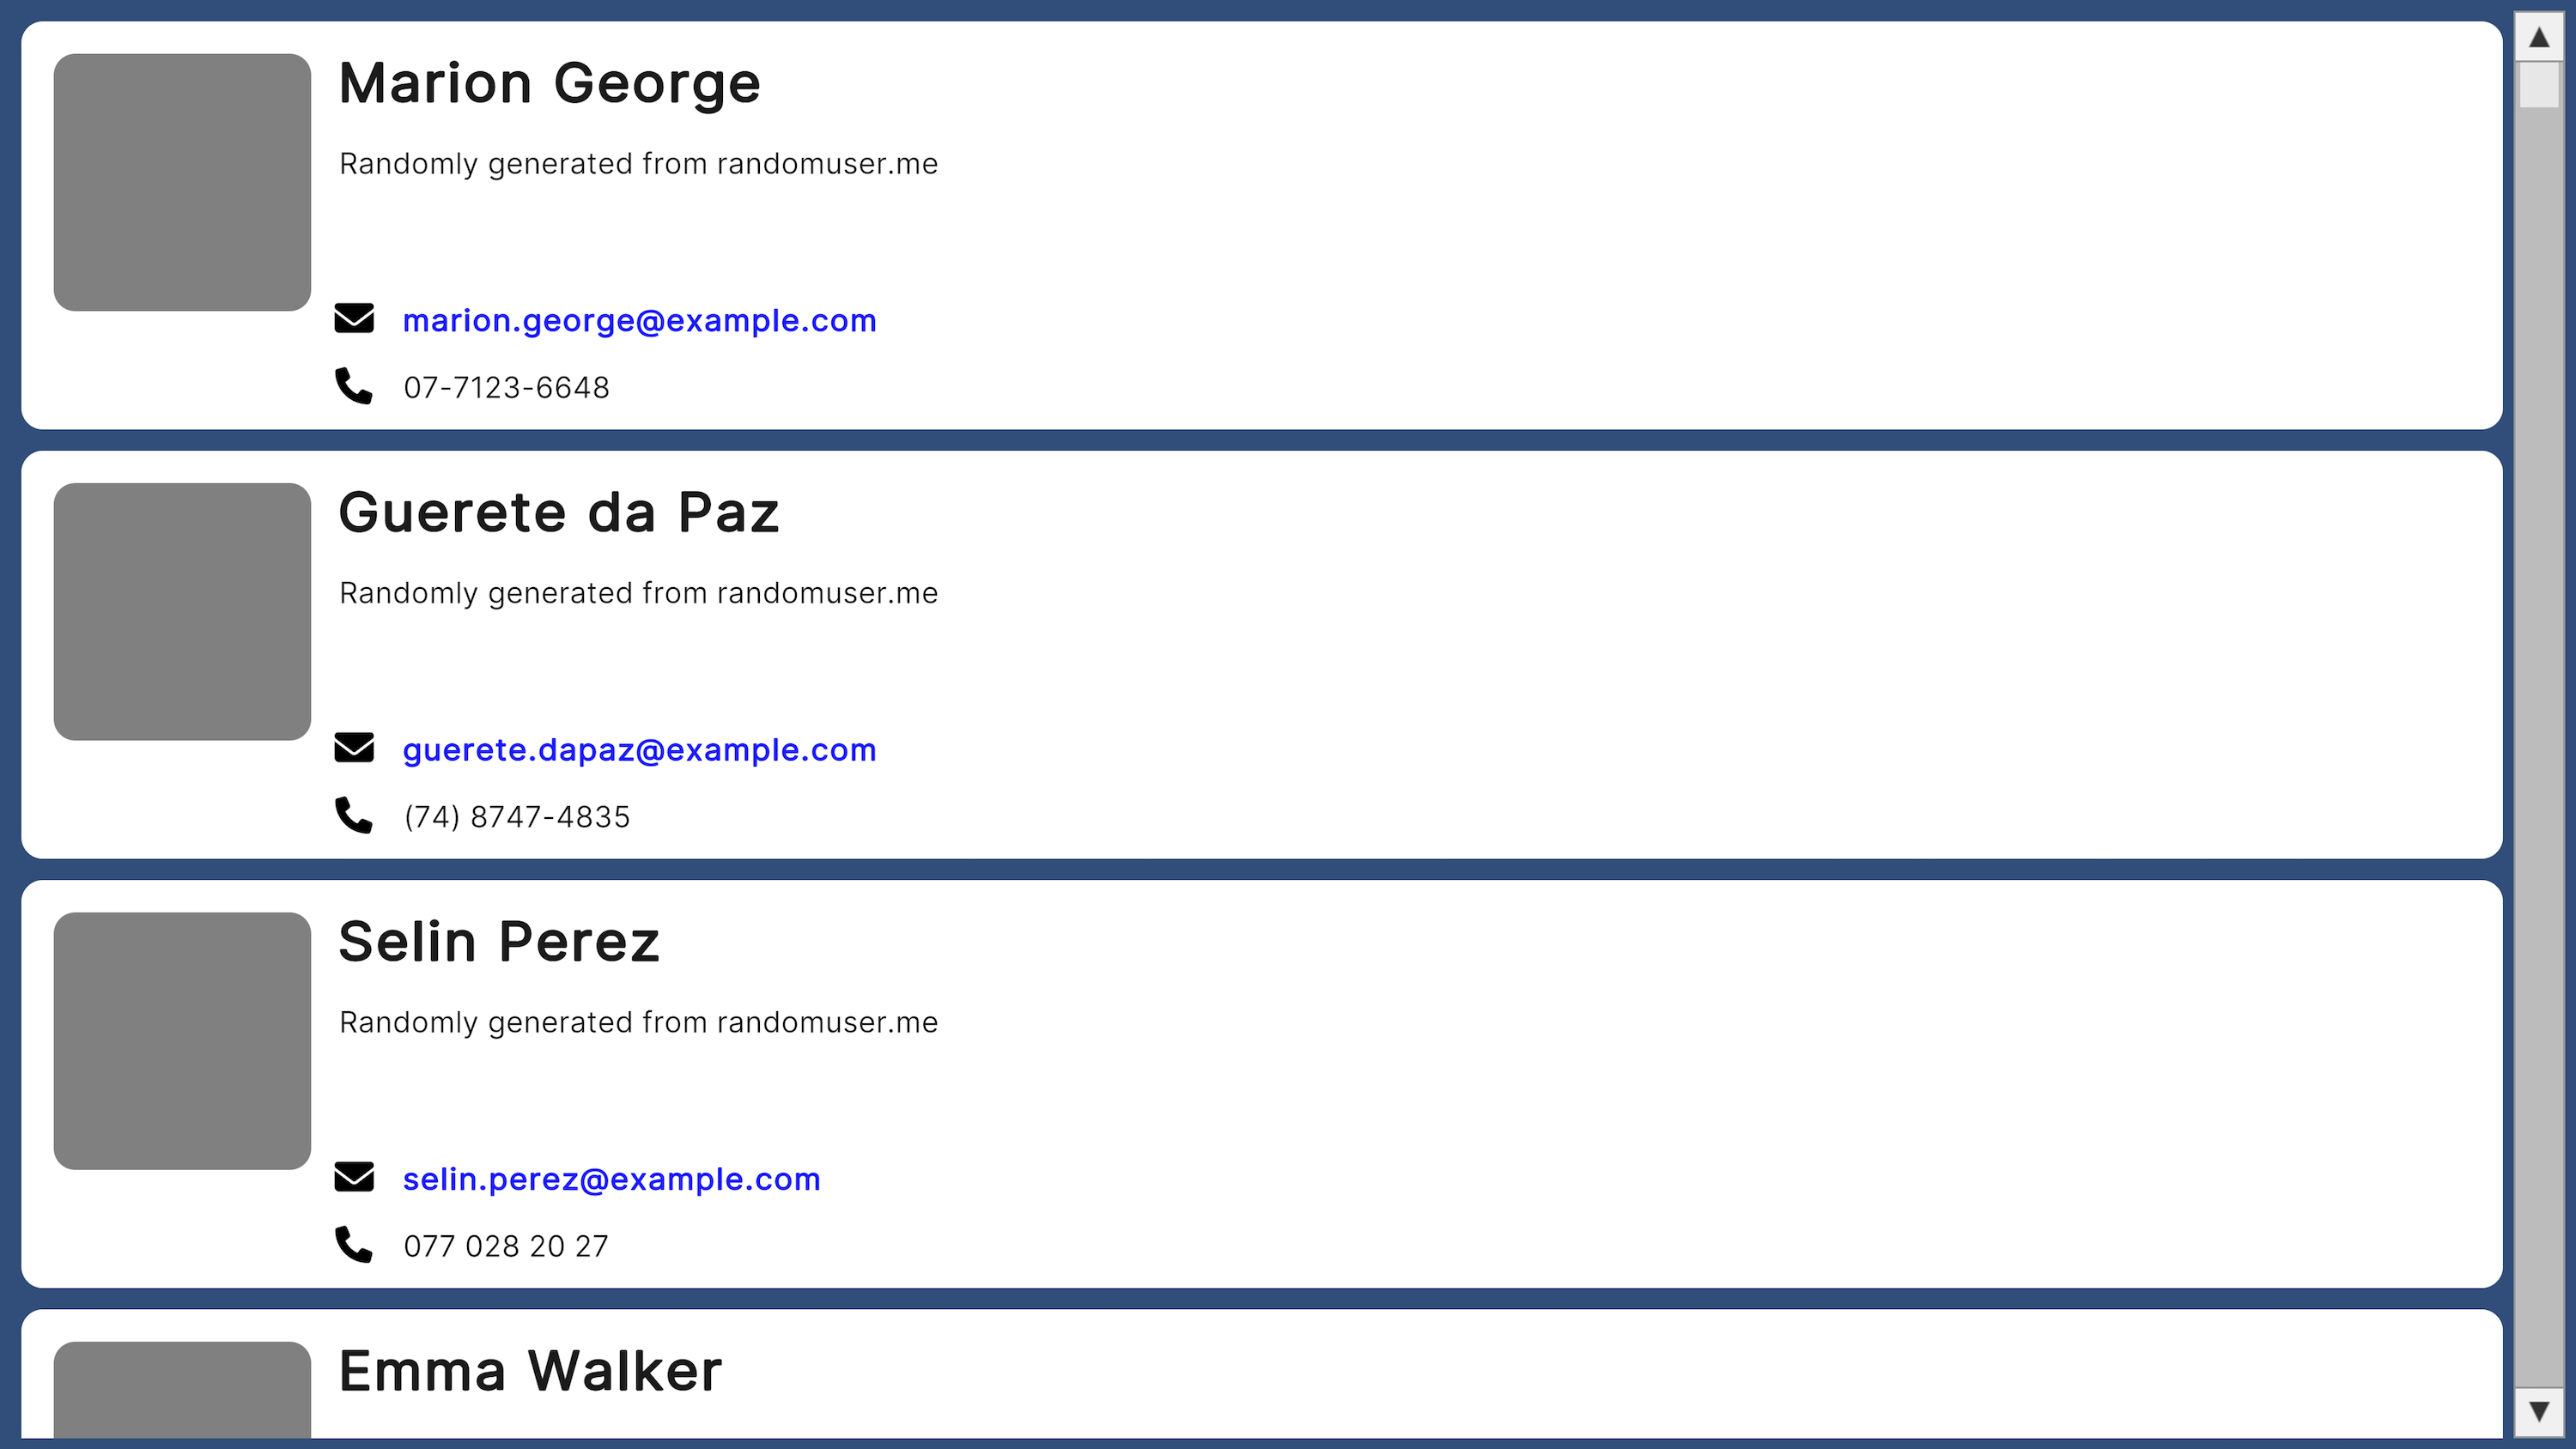
For the layout, I designed a straightforward design for rendering the data using Figma.


Setting Up Unity UI Toolkit
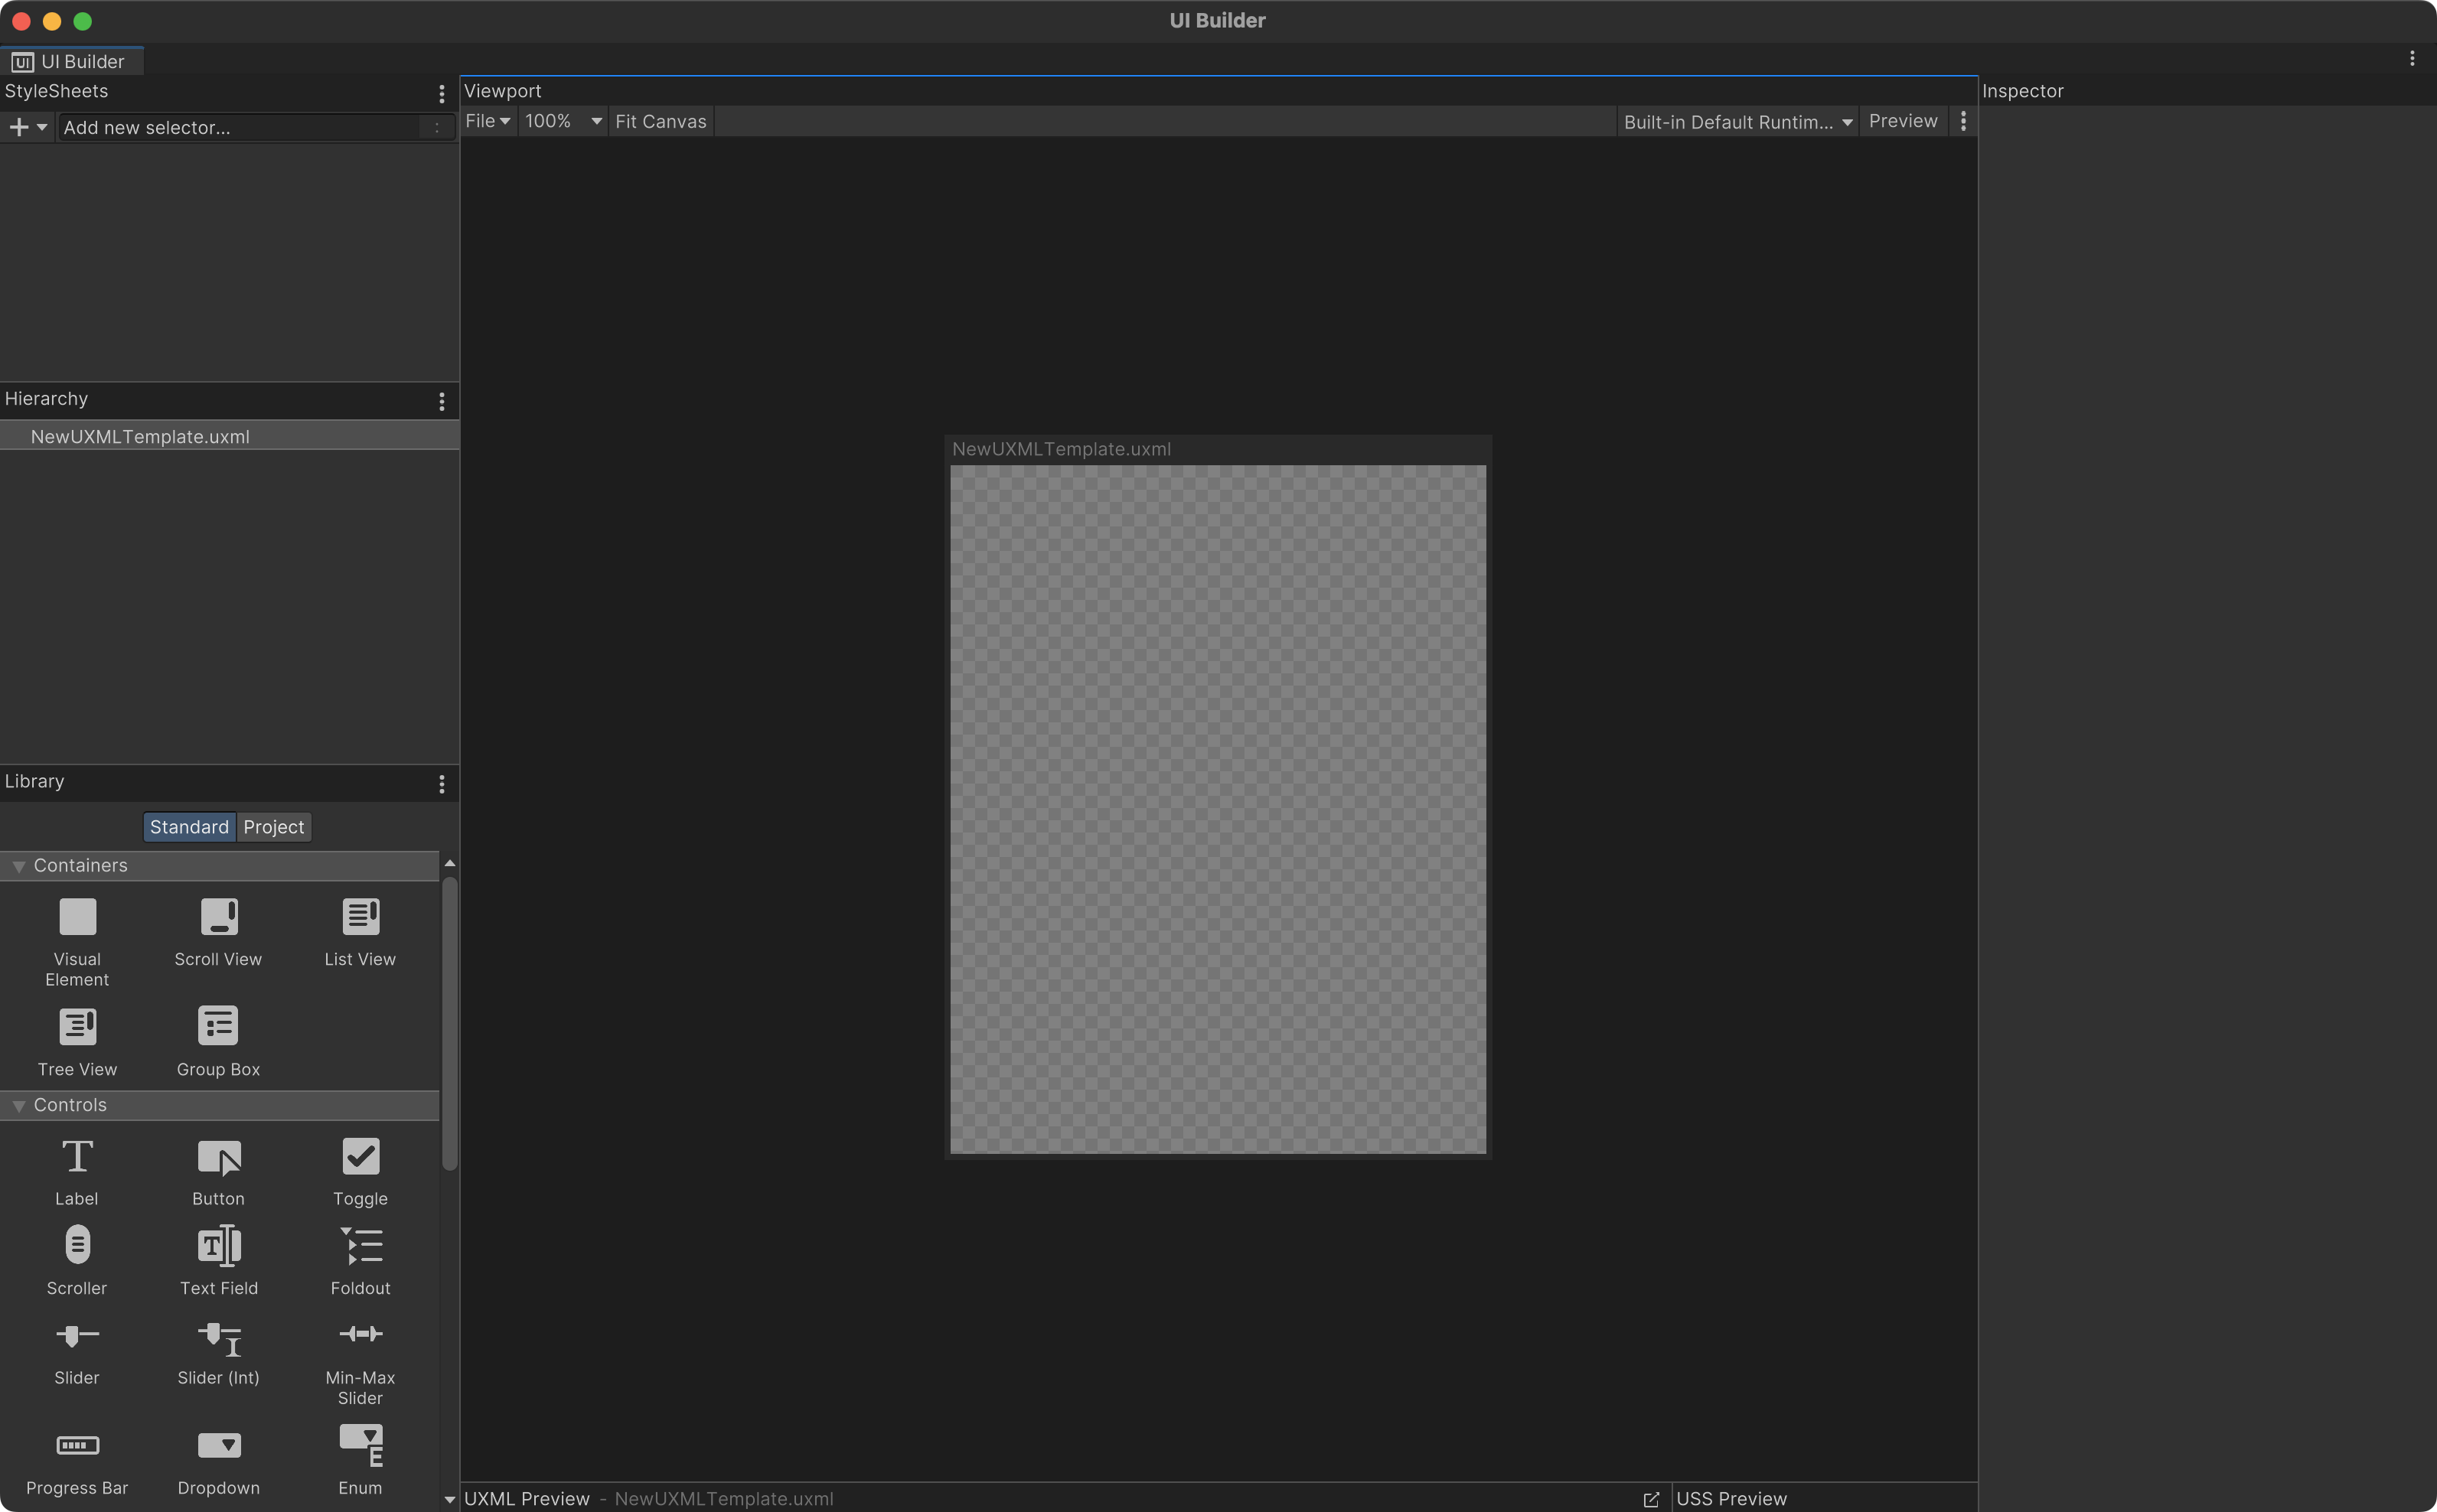
The first step to recreate the layout within Unity is to create a new UI Document. This is done by right-clicking in your asset panel and selecting Create > UI Toolkit > UI Document. Give the new asset a name and open it. You should see something similar to the screenshot below.
Next, lets add "Hello, World" text in this layout.
Drag a Visual Element from the Library into the Hierarchy above. Then drag a Label into the Visual Element to it looks like the screenshot below.
⚠️ Note: The parent Visual Element is not required to render the text, it just makes it easier to change it's position after the fact.
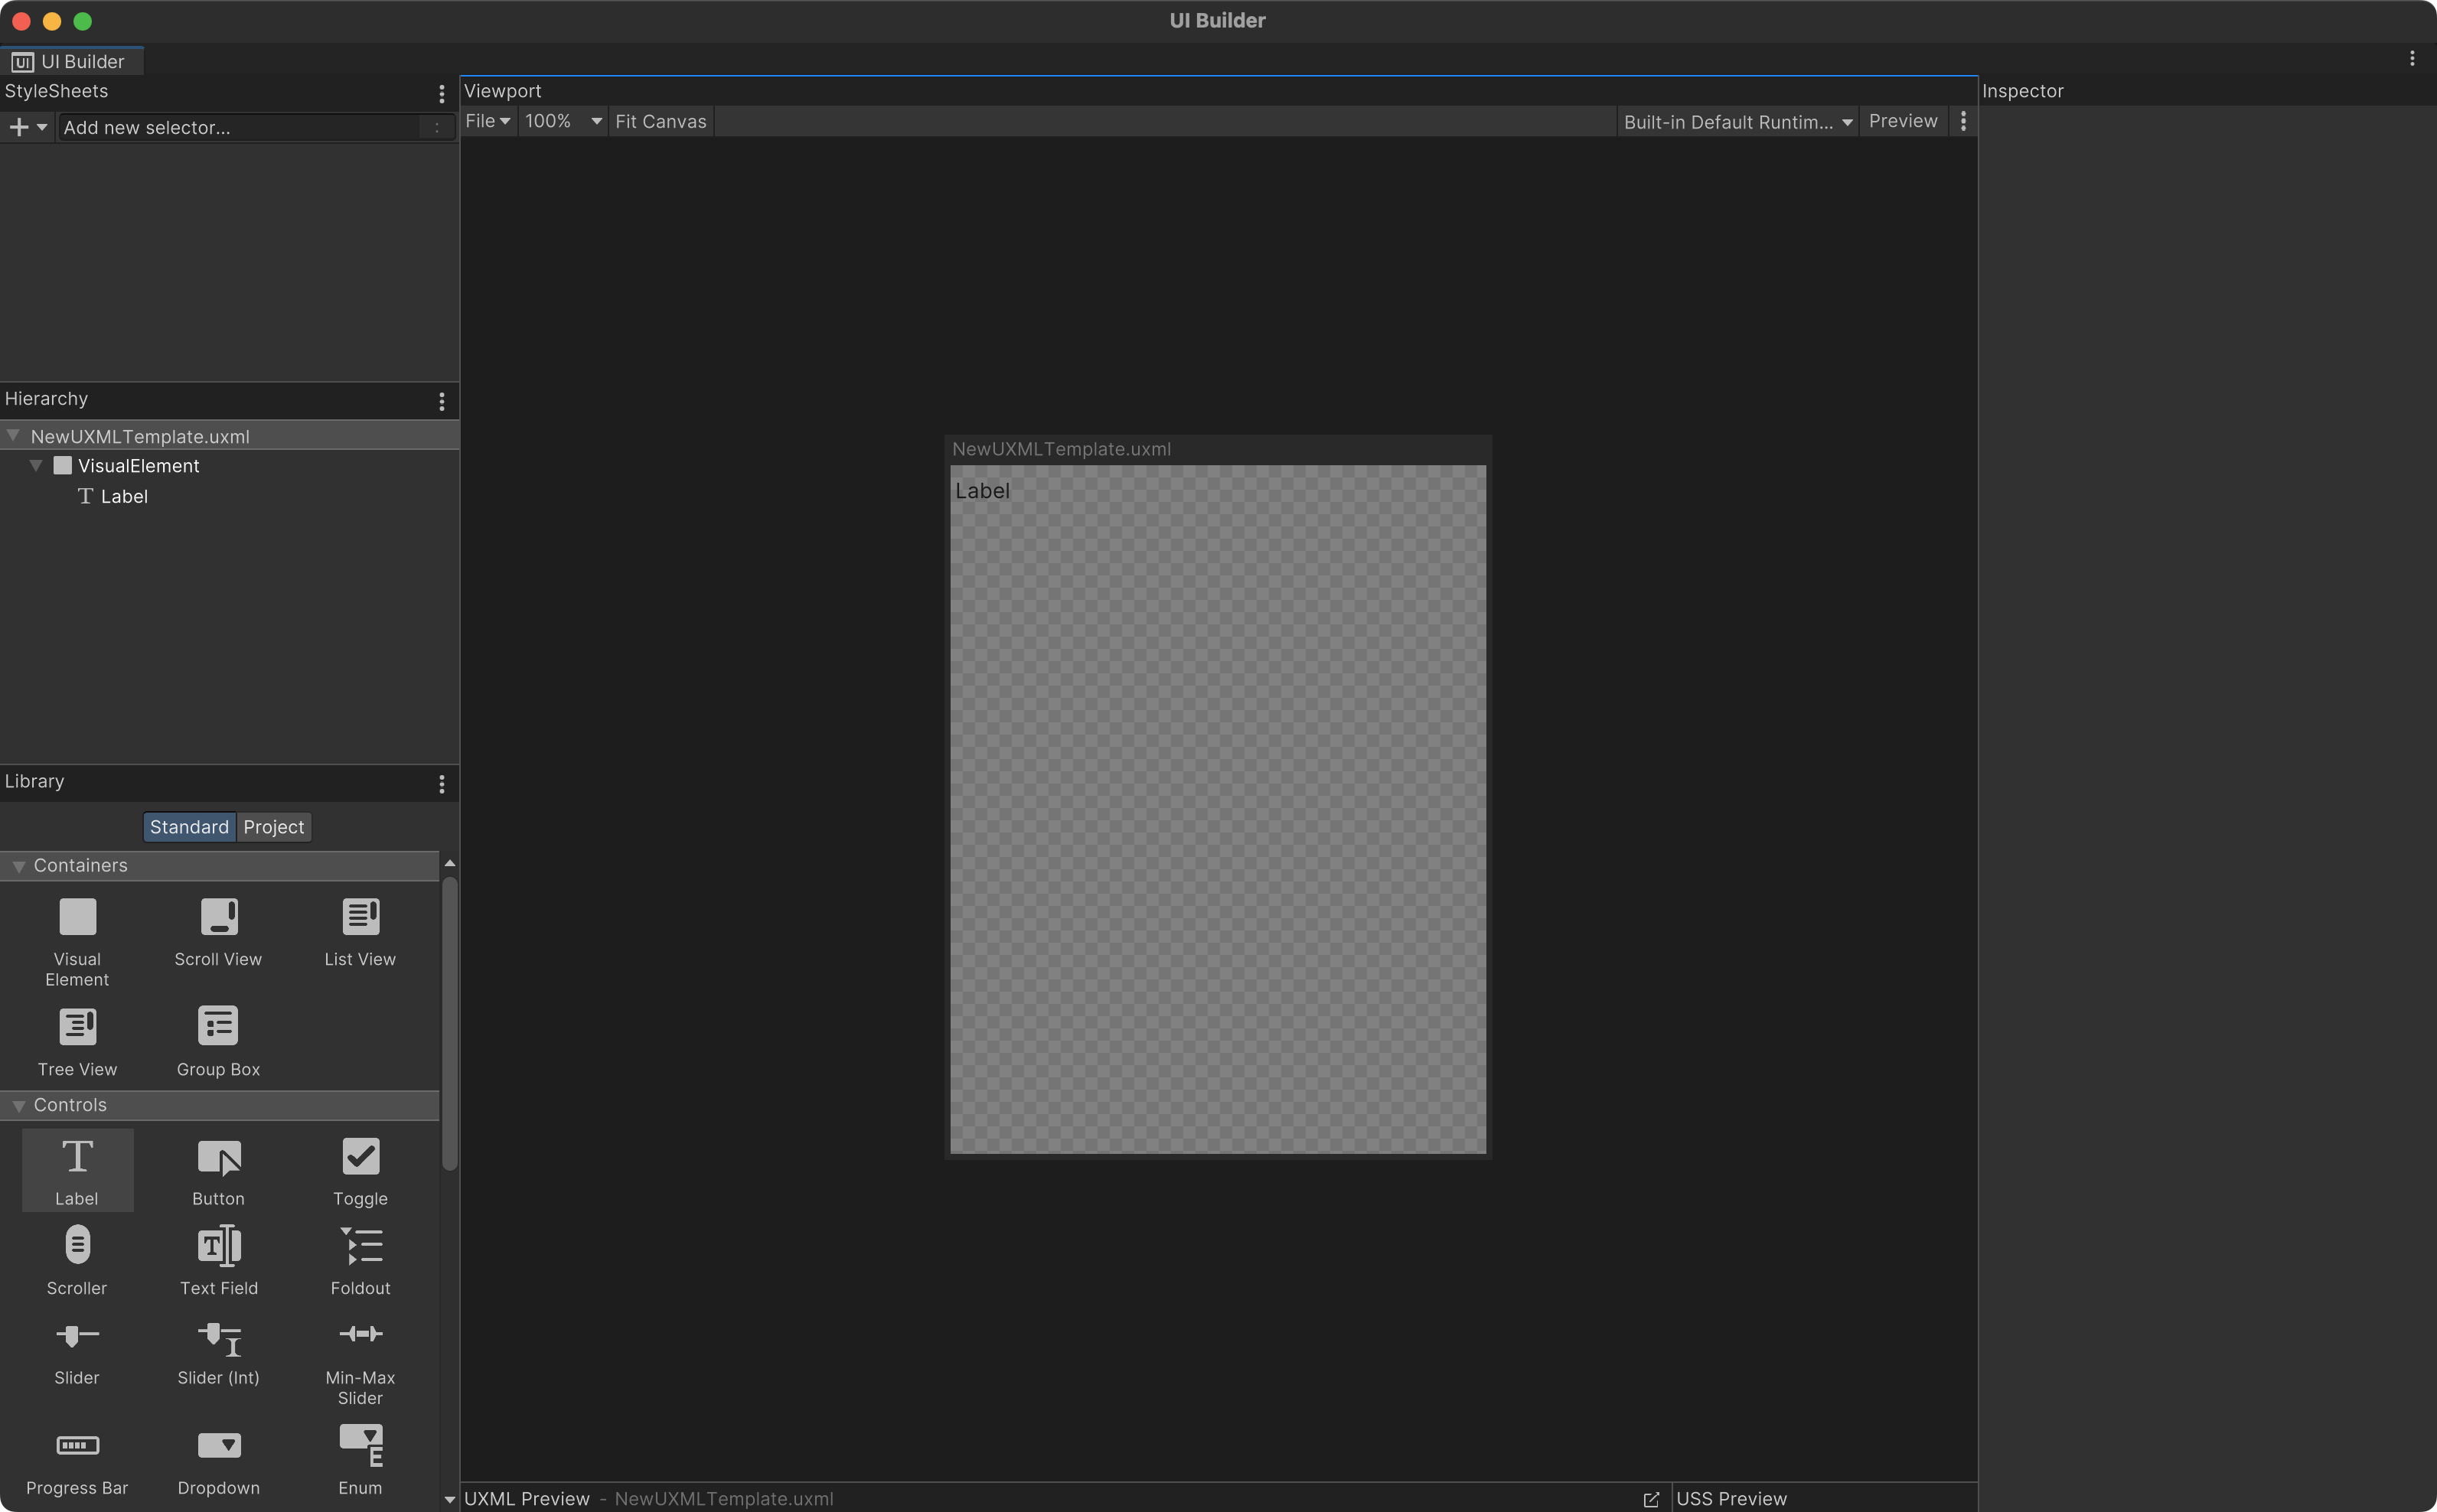
Next, double-click in the label and change the text to "Hello, world!". Click outside the element to save the changes, then save the document and close the window, returning to the scene view.
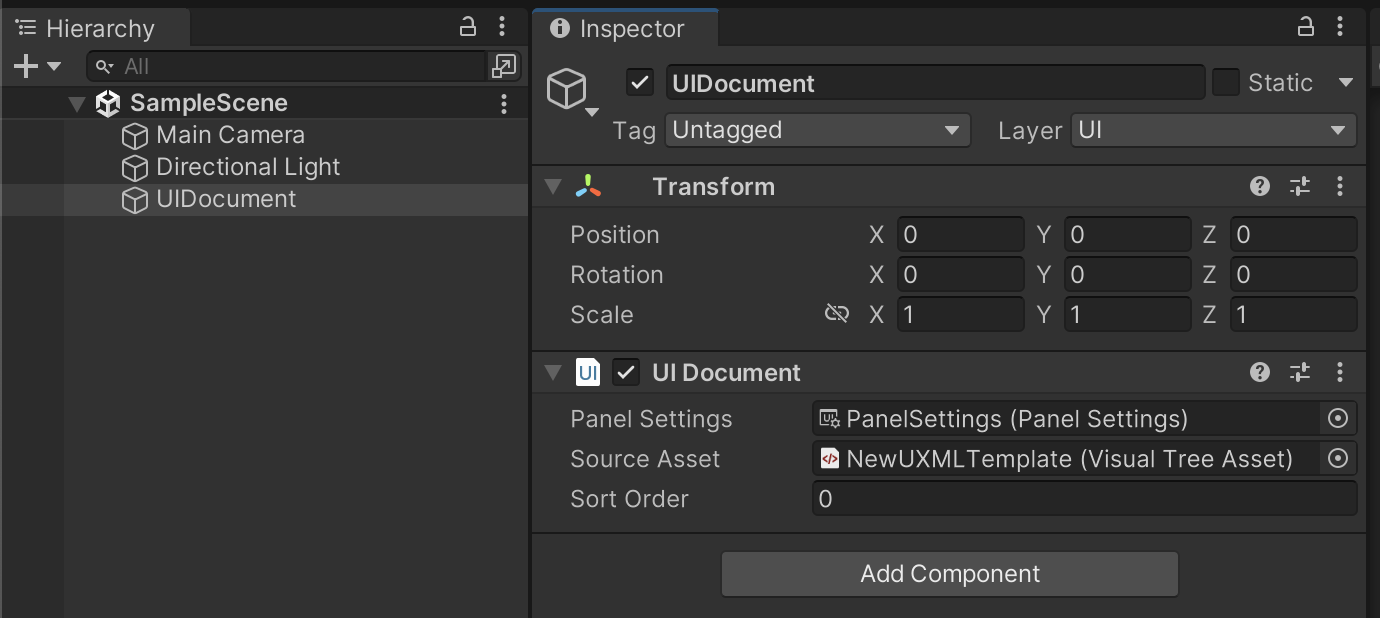
Right-click within the scene hierarchy and select UI Toolkit > UI Document. Then, select the new game object in the hierarchy and populate the Source Asset in the inspector with your UI Document from your assets folder.
You will notice, depending on your display settings, that the "Hello, world!" example appears but is very small in the scene.
Double-click on the Panel Settings property in the same inspector window you just attached the UI Document through and change the Scale Mode to Scale with Screen Size. This will make the text appear the same size on all screens. Depending on what your layout requires, this might work for your project or not.
UXML
Before we proceed, I would like to discuss the content of the file we just created using this process. Below is the text contents of the UI Document with the "Hello, world!" text object.
HelloWorld.uxml
<ui:UXML xmlns:ui="UnityEngine.UIElements" xmlns:uie="UnityEditor.UIElements"
  xsi="http://www.w3.org/2001/XMLSchema-instance" engine="UnityEngine.UIElements"
  editor="UnityEditor.UIElements" noNamespaceSchemaLocation="../UIElementsSchema/UIElements.xsd"
  editor-extension-mode="False">
    <ui:VisualElement style="flex-grow: 1;">
        <ui:Label tabindex="-1" text="Hello, world!" parse-escape-sequences="true" display-tooltip-when-elided="true" />
    </ui:VisualElement>
</ui:UXML>
If you aren't familiar with web development, this might look a bit bizarre. Granted, even with my background in web development, this looks a bit off. This is mostly because in XML, tags are usually presented as a single word and not delineated with a colon.
As a thought experiment, I built a very simple HTML to UXML converter, and while it still needs to be completed and deployed, here is an example output.
Input HTML:
<div style="flex-grow: 1;">
  <h1>Hello, world!</h1>
</div>
Output UXML:
<ui:VisualElement style="flex-grow: 1;">
    <ui:Label text="Hello, world!" />
</ui:VisualElement>
As you can see, tags like <div> are converted to <ui:VisualElement>, but the style attribute stays the same. This is because most (not all) CSS styles are the same, from HTML/CSS to UXML/USS.
Dynamic Data in Scrollable List
Now, let's create a scrollable list with dynamic data from the randomuser.me API.
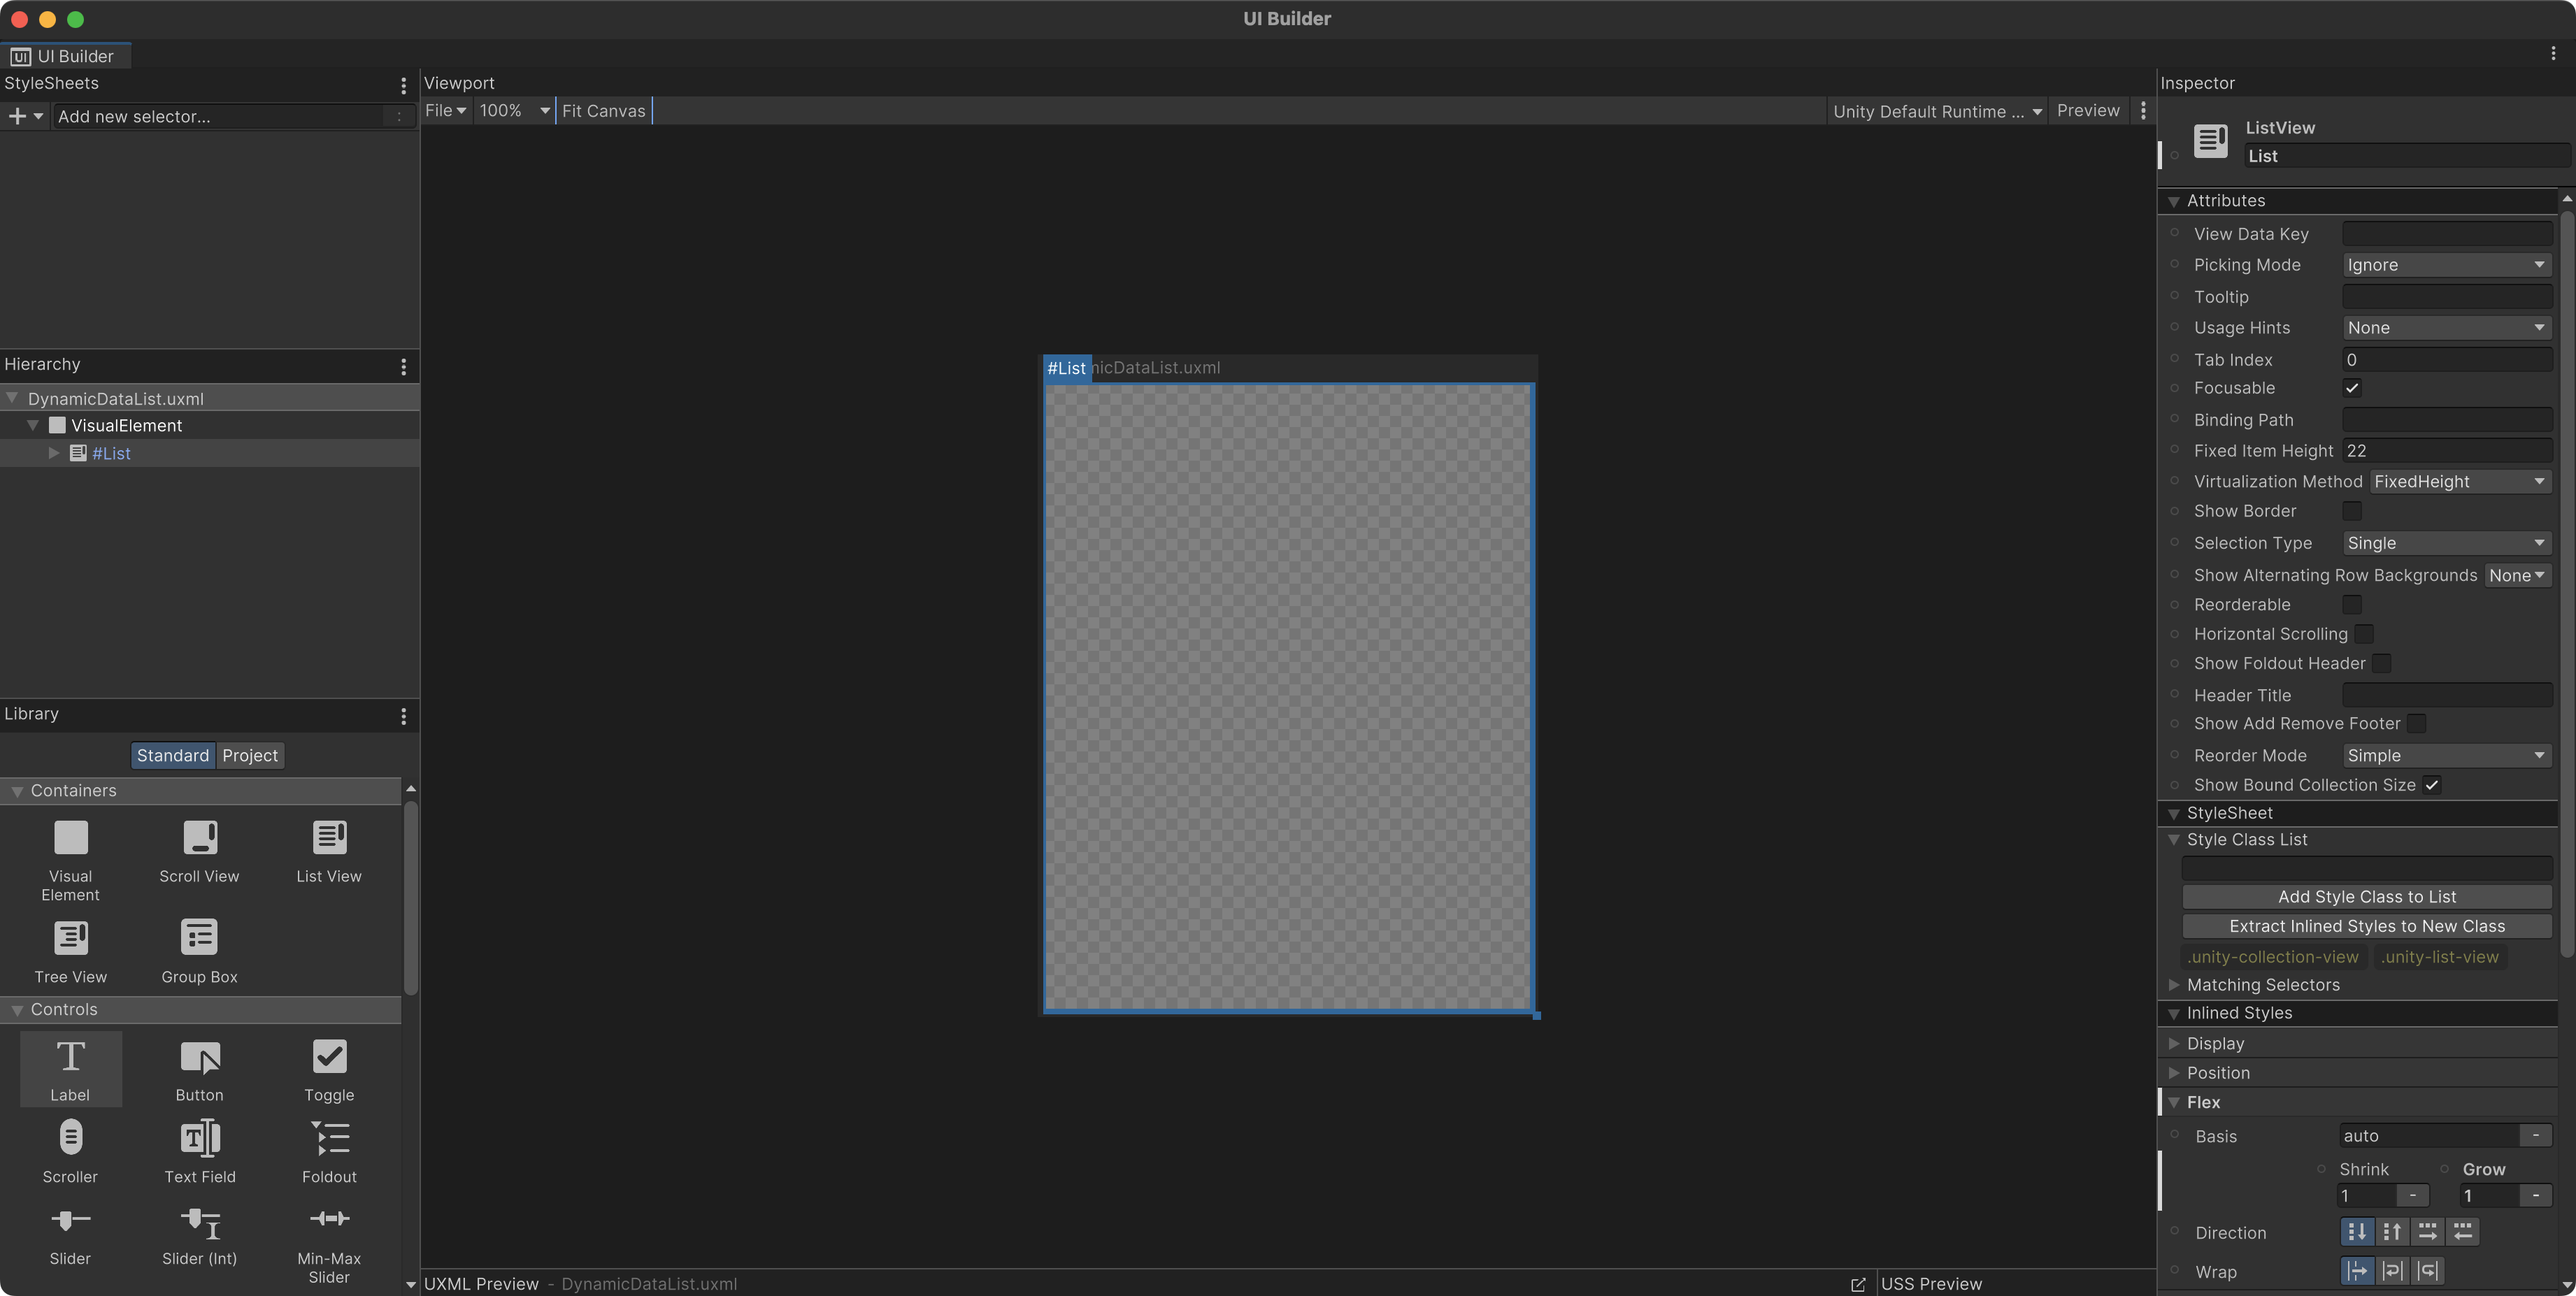
Just like before, create a new UI Document file and then drag a Visual Element from the Library into the Hierarchy above. Now, drag a List View into the Visual Element.
Then select the List View and set the height to 100% of the Visual Element. You do this by changing the property Flex > Grow to 1 in the inspector panel.
DynamicDataList.uxml
<ui:UXML xmlns:ui="UnityEngine.UIElements" xmlns:uie="UnityEditor.UIElements"
         xsi="http://www.w3.org/2001/XMLSchema-instance" engine="UnityEngine.UIElements"
         editor="UnityEditor.UIElements" noNamespaceSchemaLocation="../../UIElementsSchema/UIElements.xsd"
         editor-extension-mode="False">
    <ui:VisualElement style="flex-grow: 1;">
        <ui:ListView name="List" />
    </ui:VisualElement>
</ui:UXML>
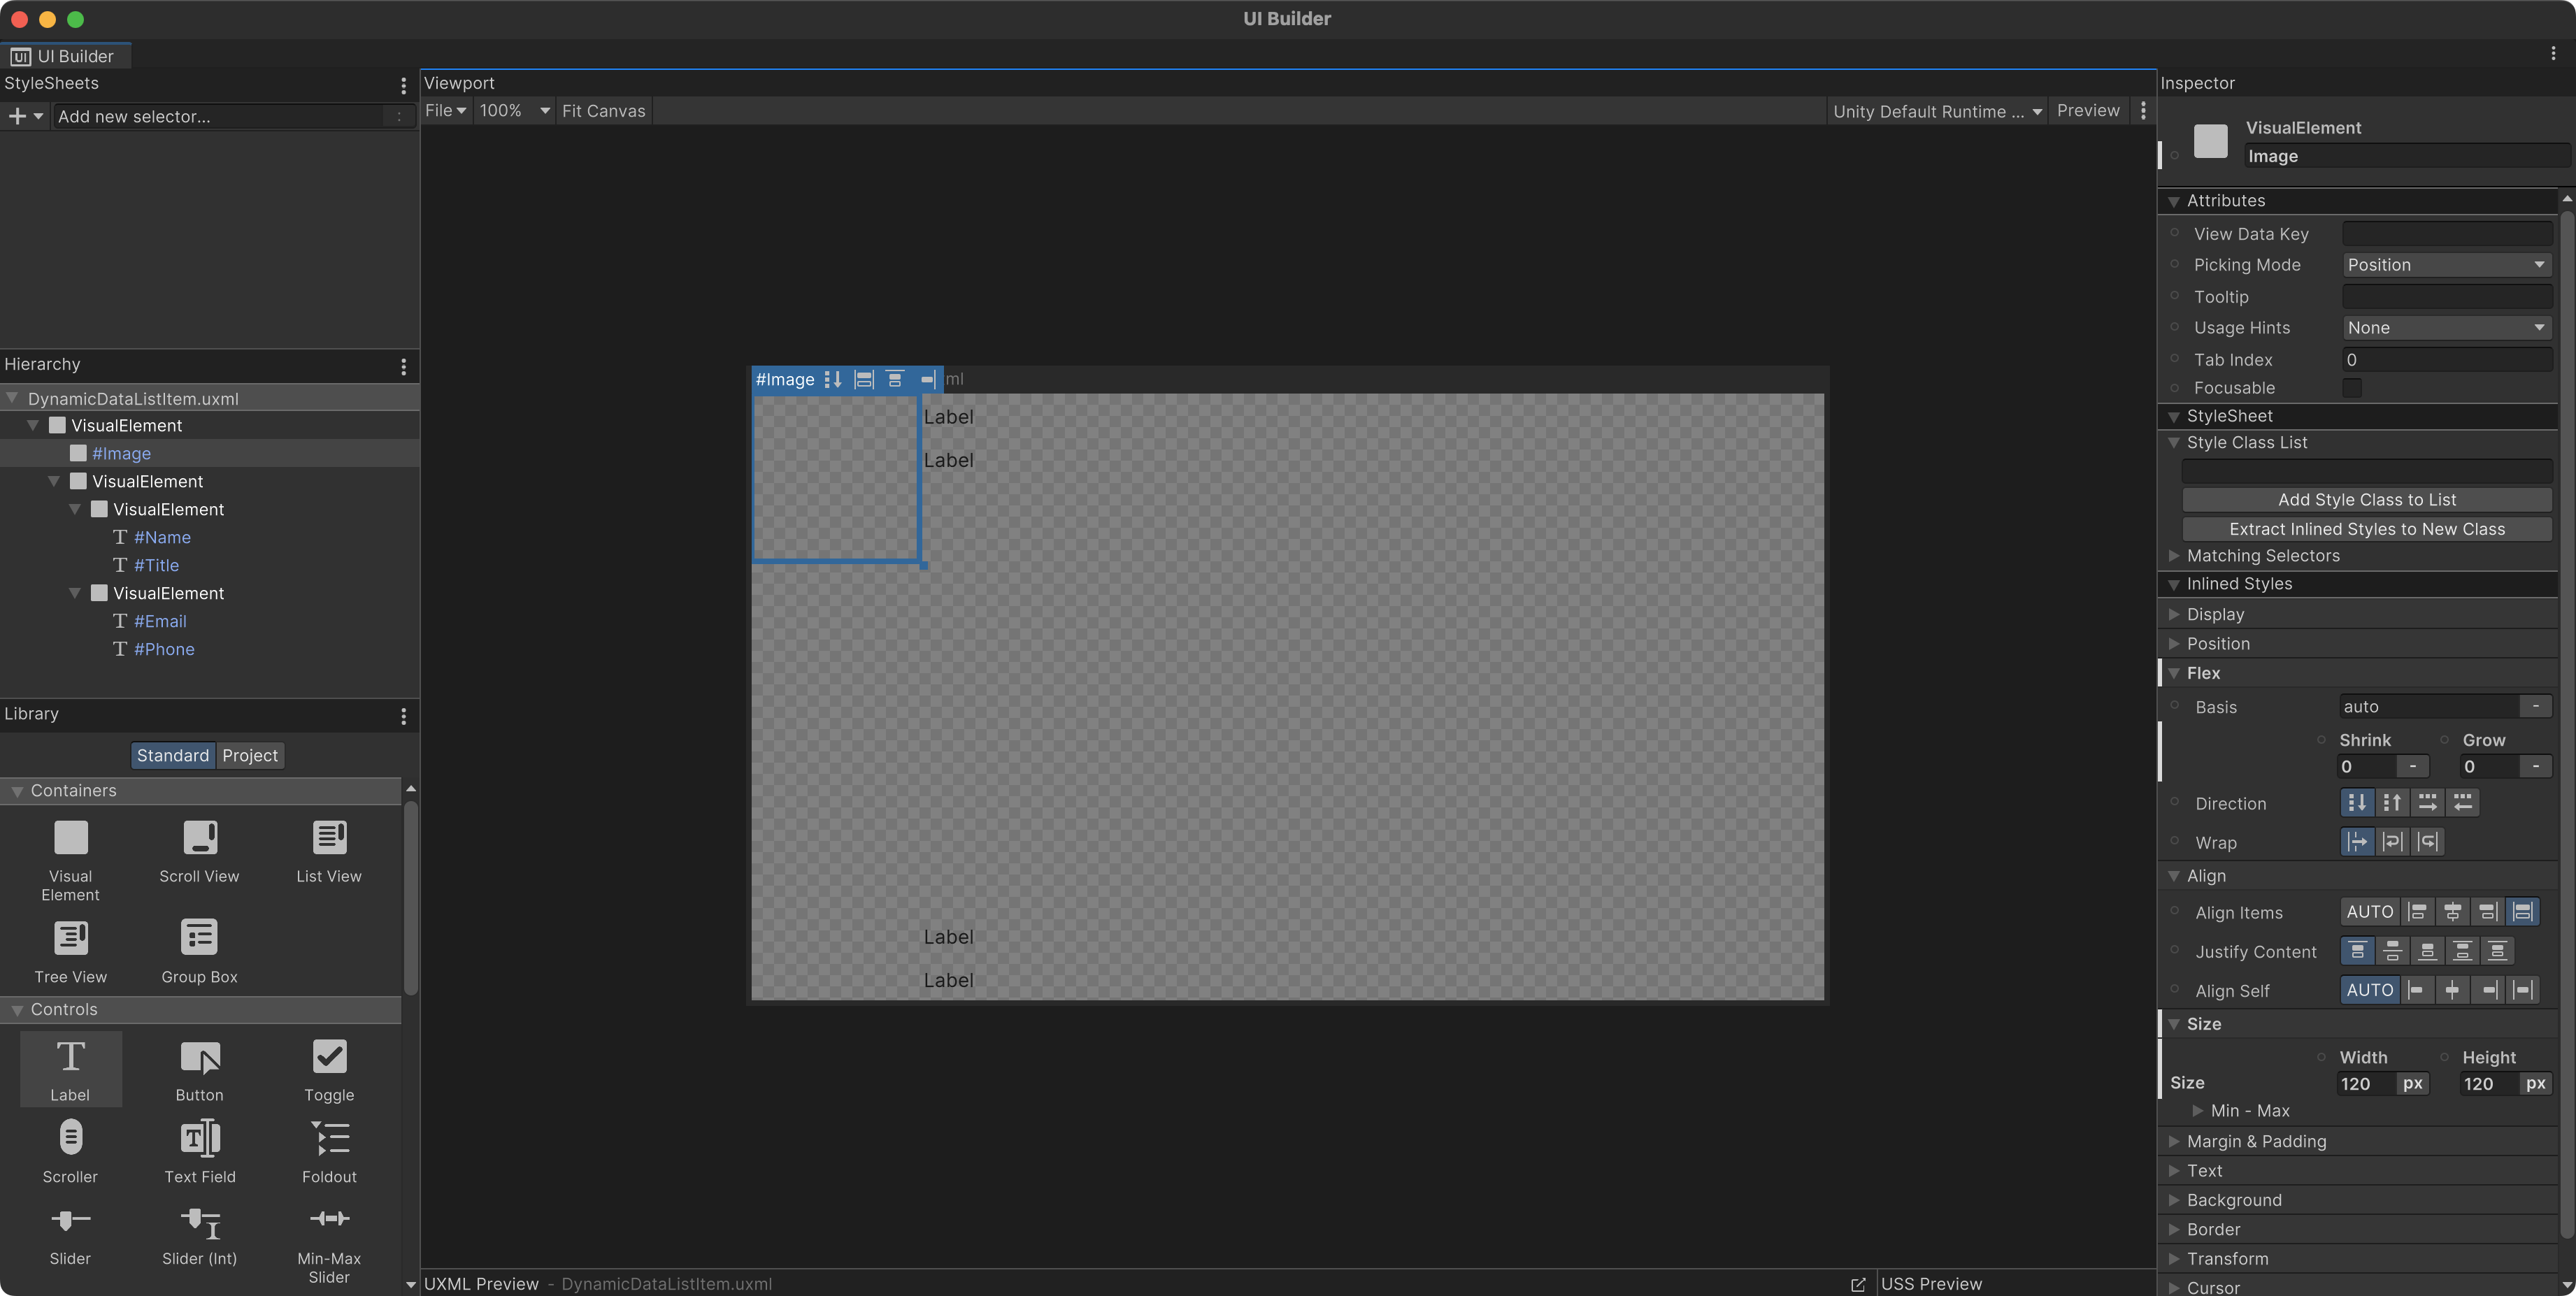
Now let's create a brand new UI Document. This UI Document will be used as the template for the list item, while the first will be used as the list we will populate dynamically when the scene starts.
This next UI Document is a bit complicated, so I've included it as an XML snippet below, as well as a screenshot.
DynamicDataListItem.uxml
<ui:UXML xmlns:ui="UnityEngine.UIElements" xmlns:uie="UnityEditor.UIElements"
         xsi="http://www.w3.org/2001/XMLSchema-instance" engine="UnityEngine.UIElements"
         editor="UnityEditor.UIElements" noNamespaceSchemaLocation="../../UIElementsSchema/UIElements.xsd"
         editor-extension-mode="False">
    <ui:VisualElement style="flex-grow: 1; flex-direction: row;">
        <ui:VisualElement name="Image" style="flex-grow: 0; flex-shrink: 0; width: 120px; height: 120px;" />
        <ui:VisualElement style="flex-grow: 1;">
            <ui:VisualElement style="flex-grow: 1;">
                <ui:Label tabindex="-1" text="Label" parse-escape-sequences="true" display-tooltip-when-elided="true"
                          name="Name" />
                <ui:Label tabindex="-1" text="Label" parse-escape-sequences="true" display-tooltip-when-elided="true"
                          name="Title" />
            </ui:VisualElement>
            <ui:VisualElement style="flex-grow: 1; justify-content: flex-end;">
                <ui:Label tabindex="-1" text="Label" parse-escape-sequences="true" display-tooltip-when-elided="true"
                          name="Email" />
                <ui:Label tabindex="-1" text="Label" parse-escape-sequences="true" display-tooltip-when-elided="true"
                          name="Phone" />
            </ui:VisualElement>
        </ui:VisualElement>
    </ui:VisualElement>
</ui:UXML>
With two UI Document assets, one for the list and the other for the list item, it's time to assemble them.
Right-click within the scene hierarchy and select UI Toolkit > UI Document. Then, select the new game object in the hierarchy and populate the Source Asset in the inspector with the UI Document asset for the list view.
Next, we'll create a script to load the data and populate the list.
DynamicDataListItem.cs
using UnityEngine.UIElements;

public class DynamicDataListItem
{

    private Label _name;
    private Label _title;
    private Label _email;
    private Label _phone;

    public DynamicDataListItem(VisualElement visualElement)
    {

        _name = visualElement.Q("Name") as Label;
        _title = visualElement.Q("Title") as Label;
        _email = visualElement.Q("Email") as Label;
        _phone = visualElement.Q("Phone") as Label;
    }

    public void SetData(RandomUser data)
    {

        _name.text = $"{data.name.first} {data.name.last}";
        _title.text = "Randomly generated from randomuser.me";
        _email.text = data.email;
        _phone.text = data.phone;

    }

}
DynamicDataList.cs
using System.Collections.Generic;
using System.Net.Http;
using System.Threading.Tasks;
using UnityEngine;
using Newtonsoft.Json;
using UnityEngine.UIElements;

public class DynamicDataList : MonoBehaviour
{

    [SerializeField]
    private UIDocument _uiDocument;

    [SerializeField]
    private VisualTreeAsset _uiDocumentItem;

    private async void Start()
    {
        var items = new List<RandomUser>();

        var data = await FetchDataFromRemoteSource<RandomUserApiResponse>("https://randomuser.me/api/?results=100");

        foreach (var user in data.results)
        {
            items.Add(user);
        }

        var listView = _uiDocument.rootVisualElement.Q("List") as ListView;

        listView.makeItem = () =>
        {
            var listItem = _uiDocumentItem.Instantiate();

            var data = new DynamicDataListItem(listItem);

            listItem.userData = data;

            return listItem;
        };

        listView.fixedItemHeight = 200;

        listView.bindItem = (item, index) =>
        {
            (item.userData as DynamicDataListItem)?.SetData(items[index]);
        };

        listView.itemsSource = items;

    }

    private async Task<T> FetchDataFromRemoteSource<T>(string url)
    {
        using var client = new HttpClient();

        var response = await client.GetStringAsync(url);

        var data = JsonConvert.DeserializeObject<T>(response);

        return data;
    }

}
Styling UI Elements
This post won't go into the aspects of styling the elements, as it's purpose was showcasing how dynamic data worked with the new system.
There are two ways to style elements in Unity UI Toolkit, and both should be familiar to you if you have some web development experience using CSS.
Inline Styles
As we have been doing so far, we can style elements directly on each element. This is done by selecting an element in the hierarchy and making changes in the inspector panel. The styles then appear in the UXML, as in the examples above and below.
<ui:VisualElement style="flex-grow: 1;">
    <ui:Label text="Hello, world!" />
</ui:VisualElement>
Extracted Styles
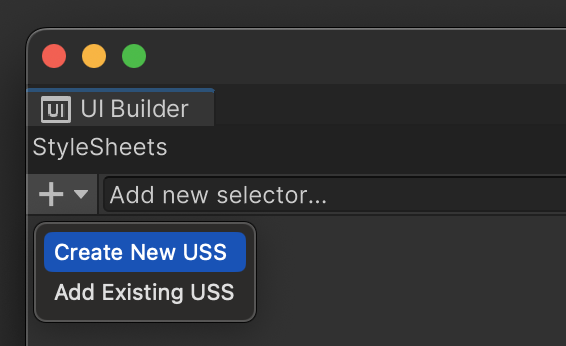
The other way you can style elements is by creating a reusable style in a USS file. You do this by navigating to the Stylesheets panel in the UI Builder window. Then clicking the + icon, selecting Create new USS and giving the new file a name.
With this file selected in the Stylesheets panel, type in the input box above that has a placeholder of Add new selector... and press enter. Select the new item in the list, and now you can start modifying styles in the inspector. To see what those changes look like, drag your new style name to the element you want to style. Make sure to have the style selected and not the element when making style changes so as not to have styles in multiple places.
I've included some modifications and style changes to the list item below.
DynamicDataList.uss
.avatar {
  border-top-left-radius: 10px;
  border-top-right-radius: 10px;
  border-bottom-right-radius: 10px;
  border-bottom-left-radius: 10px;
  background-color: rgb(128, 128, 128);
  margin-top: 10px;
  margin-right: 10px;
  margin-bottom: 10px;
  margin-left: 10px;
  width: 120px;
  height: 120px;
}

.title {
  font-size: 25px;
  -unity-font-style: bold;
}

.icon {
  flex-grow: 0;
  flex-shrink: 0;
  width: 20px;
  height: 20px;
  margin-right: 10px;
}

.email {
  color: rgb(27, 27, 255);
  -unity-font-style: bold;
}
DynamicDataList.uxml
<ui:UXML xmlns:ui="UnityEngine.UIElements" xmlns:uie="UnityEditor.UIElements"
xsi="http://www.w3.org/2001/XMLSchema-instance" engine="UnityEngine.UIElements"
editor="UnityEditor.UIElements" noNamespaceSchemaLocation="../../UIElementsSchema/UIElements.xsd"
editor-extension-mode="False">
<Style
src="project://database/Assets/UI%20Styles/DynamicDataList.uss" />
<ui:VisualElement
style="flex-grow: 1; flex-direction: row; padding-top: 5px; padding-right: 5px; padding-bottom: 5px; padding-left: 5px; background-color: rgb(255, 255, 255); border-top-left-radius: 10px; border-top-right-radius: 10px; border-bottom-right-radius: 10px; border-bottom-left-radius: 10px; margin-top: 5px; margin-right: 5px; margin-bottom: 5px; margin-left: 5px;">
<ui:VisualElement name="Image" class="avatar" />
<ui:VisualElement style="flex-grow: 1;">
<ui:VisualElement style="flex-grow: 1;">
<ui:Label tabindex="-1" text="Label" parse-escape-sequences="true" display-tooltip-when-elided="true"
name="Name" class="title" />
<ui:Label tabindex="-1" text="Label" parse-escape-sequences="true" display-tooltip-when-elided="true"
name="Title" />
</ui:VisualElement>
<ui:VisualElement style="flex-grow: 1; justify-content: flex-end;">
<ui:VisualElement style="flex-grow: 0; flex-direction: row; align-items: center;">
<ui:VisualElement class="icon"
style="background-image: url("project://database/Assets/Sprites/UI/email.png");" />
<ui:Label tabindex="-1" text="Label" parse-escape-sequences="true"
display-tooltip-when-elided="true" name="Email" class="email" />
</ui:VisualElement>
<ui:VisualElement style="flex-grow: 0; flex-direction: row; align-items: center;">
<ui:VisualElement class="icon"
style="background-image: url("project://database/Assets/Sprites/UI/phone.png");" />
<ui:Label tabindex="-1" text="Label" parse-escape-sequences="true"
display-tooltip-when-elided="true" name="Phone" />
</ui:VisualElement>
</ui:VisualElement>
</ui:VisualElement>
</ui:VisualElement>
</ui:UXML>
And that's it! Dynamic data from an API should be rendered in Unity using the two UI Document assets and the script that ties them together.
This barely scratches the surface of what Unity's new UI Toolkit can do, so keep an eye out for more posts showcasing more of this new way of building UI in Unity!